Install an in-ground basketball hoop can be a great addition to any backyard or driveway, but it’s important to plan and execute the installation properly to ensure a stable and safe structure.
In this guide, we will cover the key steps involved in installing an in-ground basketball hoop, including choosing the right location, ensuring proper drainage, digging the hole, setting the pole and backboard, and finishing with backfill and leveling.
With the right tools and some patience, you’ll be able to install your own in-ground basketball hoop in no time. Here is all you need to know to make an informed decision when searching for a basketball hoop, how to install In-Ground Basketball Hoop, and why you should consider hiring a professional to do the installation for you.
Steps to Install an In-Ground Basketball Hoop
You’ve done your homework and identified the ideal basketball hoop for your household; now it’s time to move on to the more fun portion of the process. The process of installing a basketball hoop may be laborious, but in this article, we will outline all of the processes that are required.
In no time at all, you will have your very own basketball hoop installed and will be prepared to play some hoops with the rest of the family. Consider the following to be your step-by-step instructions for installing a basketball hoop:
1. Choose Your Location and Call Before You Dig
The process of installing a basketball hoop involves a number of phases, one of the most significant of which is selecting the appropriate place. This was covered in the preceding section on items to consider.
You may have decided where you want to In-Ground Basketball Hoop, but because you’ll need to dig a hole, it is imperative that you call the Call Before You Dig hotline (dial 811) to check for any buried utility lines before you start digging. Inquire about further information with your Superior Play System.
Be sure that you have verified with any local regulations or homeowner’s association guidelines before installing an in-ground basketball hoop on your property. These are two sources of potential regulation.
Before you begin digging, you need to make sure you have read all of the directions and checked for any advice the manufacturer may have given for your specific model.
2. Dig a Hole
You’ll need to dig a hole in the ground there, since that’s where the pole for the basketball goal will go. For instructions on how to dig the hole and the appropriate size it should be, see both your product’s maker and the manual for your individual model.
You may dig by hand with a shovel or with other digging equipment such as an auger. For more precise instructions, please refer to the owner’s manual.
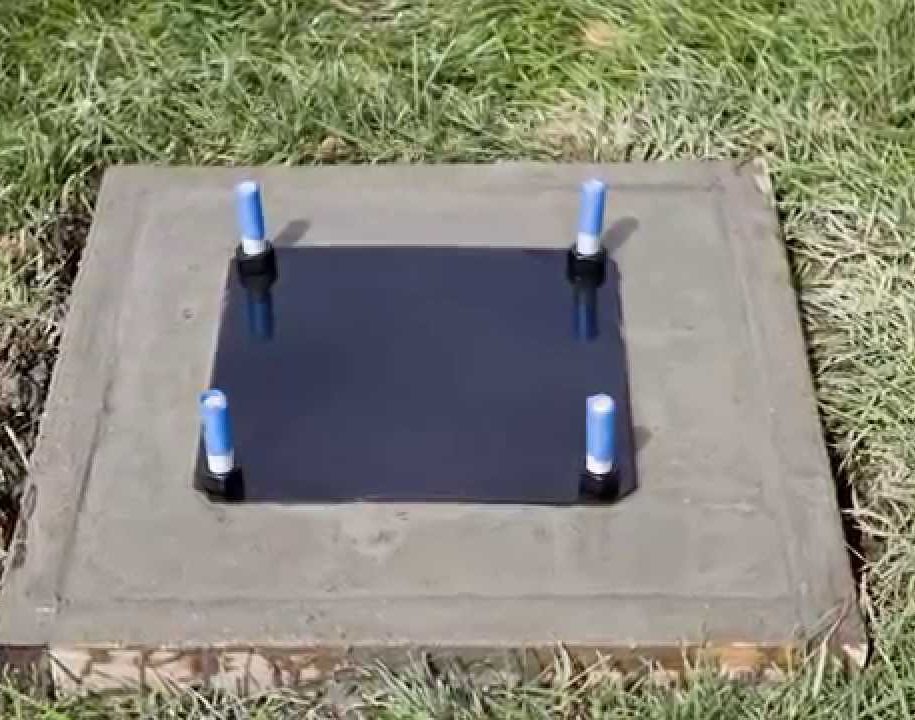
3. Pour the Concrete
After you have excavated the hole, you will use poured concrete to firmly plant the pole that supports the basketball hoop in the ground. Certain variants consist just of a single pole in the center of which the concrete is poured.
If this is the case, one person (or two individuals) should hold the pole level while another pours concrete around it while the first person does the latter. The most common kind of anchor is one that is attached to rebar and inserted into the concrete after it has already been poured.
In any case, make sure that you periodically stir the concrete with a shovel as you are pouring it in order to eliminate any air pockets that may have formed.
To complete the project, use a trowel to make the surface of the concrete smooth, and check to see that everything is level. Remove any surplus with a sponge or cloth that has been dampened. At this point, you will have to wait anywhere from 24 to 48 hours for the cement to fully dry out.
During the first few hours, it is important to repeatedly inspect the cement to ensure that the pole has not moved and is not tilting in any direction.
If required, make the necessary adjustments to the pole, and continue to examine it at regular intervals until the cement has set. Wait to finish putting the remainder of the assembly together until the cement has fully dried out and set.
4. Raise the Pole
You may skip this step if your basketball hoop is only a pole embedded in the concrete and go straight to installing the backboard. However, if your arrangement includes a mounting anchor, you should now construct the pole and elevate it into position.
Because each model is somewhat different from the next, it is essential that you carefully adhere to the guidelines provided for your particular device.
If you have a basketball hoop that can be adjusted to a different height, you will need to follow the instructions that came with it to put together the lift mechanism and the support arms.
It is anticipated that the post would be somewhat weighty, therefore the installation of it could need the assistance of more than one person.
Take whatever safeguards against injury that is required, and then have your crew raise the pole until it is aligned with the anchor piece that is embedded in the cement. First, you need to make sure that the post is level, and then you may use the bolts to attach it.
The configuration should also include the use of leveling nuts, which should be adjusted as required to ensure that the pole is perfectly horizontal.
5. Attach the Backboard
There are configurations of basketball hoops in which the backboard is connected prior to the pole being lifted, however, the vast majority of high-end versions need the backboard to be added after the pole has been secured.
Keep in mind that the backboard is often extremely heavy as well, and it may need the combined efforts of many people in order to be lifted up and placed. When moving heavy objects, it is important to ensure that you have enough assistance and to take any necessary safety measures.
Instruct your assistants to assist you in lifting the backboard into position on the support arms, while one of your team members connects the backboard to the support mount.
There may be additional support arms or cross bracing that need to be attached at this stage, however, each model is unique in this regard. If you follow the instructions, you should be able to get all of the necessary components firmly attached.
6. Install the Rim and Net
After the backboard has been securely fastened in place, it is time to install the basketball rim and net. After positioning the backboard, the rim will only be fastened to it using bolts. If you have chosen to go with a breakaway rim, there is a possibility that some additional assembly may be necessary.
After the rim has been secured, you may finish installing the net by looping it around each of the hooks on the rim after the rim has been attached.
7. Finishing Touches
Your basketball hoop is nearly ready to be used now that it’s reached this step! The finalization and personalization of your setup only require a few further actions, some of which are voluntary on your part.
Some of the more expensive versions come with extra padding that may be wrapped around the pole and the four corners of the backboard.
These are often considered to be optional touches; nonetheless, they may eventually preserve the safety of any players by avoiding bumps, bruises, and other injuries that may be caused by accidentally colliding with the basketball hoop.
If you have a basketball hoop that is adjustable in height, you may now set it to the height that is most comfortable for your family. It’s possible that you’ll need to start by setting it at the required height of 10 feet before you can indicate the height on the pole or use the stickers that are given for that purpose.
To ensure that the information is correct, measure the height of the rim. With the height stickers, it is simple to see at a glance where to modify the mechanism. It is now ready to be adjusted to any height you choose to use.
Now is the time to put in any extra accessories you have, such as lights for the court, if you have any of these things. If you want your accessories to be fitted correctly, be sure you follow the directions provided by the manufacturer.
It is possible that you may want to paint court lines on the pavement where you will be installing your hoop. This will depend on the size of the area where you will be installing your hoop.
It is not required that you paint lines, but if you do decide to do so, you should first pressure wash the area so that there is a clean surface for the paint to cling to. This step is completely voluntary.
Mark off with painter’s tape the spots where the lines need to be drawn using the measurements you took earlier. After you’ve painted within the lines, remove the tape.
You can now play basketball whenever you want thanks to your own court! Get the whole family together, and get ready to have some fun!
Why Should You Have a Professional Install Your Basketball Hoop?
If following these instructions and tips for installing a basketball hoop has left you feeling confused, know that you are not alone in this feeling. Even in today’s world of do-it-yourself projects, building a basketball hoop on your own might be a bit of a complicated process.
Why not let the pros handle the installation of the system if you find that installing it yourself is just a bit too much of a challenge? When you get the expert installation done, you will save a lot of time and save a lot of stress.
Take into consideration the length of time that will be required to finish the installation procedure on your own. Even if you carefully follow each and every step in the instructions, the procedure will still take at least two days of hard effort.
Additionally, even little blunders or delays in the procedure might cause it to take far longer. Even the job of doing research and making preparations might take longer than anticipated.
In-ground basketball hoop installation sometimes requires a significant number of tools and pieces of specialist equipment.
It is not an easy process to do by hand to dig a hole that is big enough for the post of the basketball hoop, and if you do not have an auger or a backhoe, you may need to hire equipment in order to finish the job. This may cause the project to run longer and cost more money.
Take into account, as well, the fact that you will want the assistance of other grownups. You’ll need the assistance of at least three to five people in order to raise the hefty pole and raise the backboard, so you’ll need to recruit members of your family, friends, or even neighbors to assist you.
You may need to spend money on food and beverages in order to feed and reward your crew. If you do not have the appropriate equipment or grossly misjudge the amount of time and work that will be required to accomplish the job, attempting a project of this size may be quite frustrating.
This is particularly true if you do not have the essential tools. The amount of time and work that is necessary for a project of this kind may simply be irritating, and this is true even when everything goes according to plan.
You should be able to have fun with a basketball hoop in your backyard rather than feeling frustrated by it. You’ll be able to get right into the fun part of hula hooping if you have a trained expert set up your hoop for you.
In addition to receiving white-glove installation services from the company, you get some of the greatest equipment available on the market when you purchase your basketball hoop from Superior Play Systems®.
Because of their years of experience and extensive training, experts are better equipped to complete a task in a shorter amount of time and with less effort on their part than you are, and you can be certain that it will be done right from the very beginning.
Factors to Consider When Buying a Basketball Hoop
Buying a basketball hoop for your house requires careful consideration of a number of factors, the most important of which are the location of the hoop’s installation and the kind of hoop that will be most effective for your needs.
Because purchasing and installing a basketball hoop on your home may be a significant investment as well as a significant choice, you will want to ensure that you do it in the most advantageous manner possible for both you and your family.
Before you go out and get a basketball hoop, here are some of the most significant considerations you should give some thought to.
Also Read: Best Basketball Hoop With Wheels Review

- Choosing a Seller
Because purchasing an in-ground basketball hoop is a significant investment, you will want to be sure that you choose the best vendor.
Those businesses that provide post-purchase assistance, such as installation and customer service, are the most successful vendors.
Superior Play Systems is the brand in play that is known to be the safest and most reliable, and they provide high-quality in-ground systems that are manufactured by PROformance Hoops.
When you buy a basketball hoop from us, we will work with you to ensure that the installation procedure is as smooth as possible so that you and your family may start playing on the court as soon as possible.
- Location
Choosing a suitable spot for your brand-new basketball hoop should be considered among the most vital aspects to think about. The driveway is the most common location for basketball hoops, but you should check to make sure that your road is level before installing one there.
The game will be far more difficult to play if the driveway is sloped in any manner. If you have a bigger backyard and enough space in the budget, you may want to think about creating a dedicated area or perhaps a full-size basketball court.
This is something you should think about if you play basketball often. Make sure that you have a patio or some other kind of concrete surface since a basketball will not bounce very well on grass. In order to ensure the players’ safety, the hoop should not be suspended over the roadway.
It is also a good idea to check for any limits on the installation or location of basketball hoops by looking into any municipal regulations, neighborhood ordinances, or homeowner’s association rules that may exist.
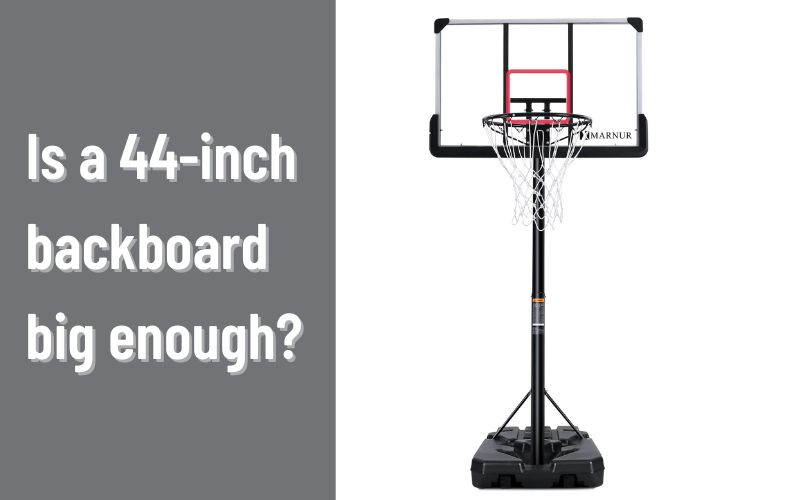
- Backboard Size
The size of the backboard of a basketball hoop may have an effect on the shooting chances into the hoop, and in this case, usually speaking, a larger backboard is preferable.
Having said that, you will need to take into consideration the dimensions of your driveway or the location where you will be constructing the hoop. A backboard that is too big for a tiny driveway may seem out of place or cause the area to feel crowded.
You should also think about the level of professionalism you want to achieve. For example, if you have a child who dreams of playing basketball professionally, you should get a backboard that is 72 inches tall because that is the regulation size.
This will give your child the best possible practice for playing on actual basketball courts. However, if the primary use of the hoop is for the enjoyment of a family, it is possible that a bigger backboard is not required even if it is more costly.
- Height
Before you install an In-Ground Basketball Hoop, you will want to give some thought to its height to ensure that it is appropriate for the site you have chosen to put it on.
The professional standard height for a basketball hoop is 10 feet, but just as with the backboard size, you may want to go with an adjustable hoop or a shorter hoop if it’s just going to be for fun.
You may also look at hoops that include height adjustments so that they can keep up with your children as they become taller.
Also take into consideration the amount of overhang, which is the space between the pole and the backboard. You should aim to have anywhere between 2.5 and 4 feet of overhang available.
- Type of Pole
The selection of a pole for your basketball hoop may seem to be a straightforward process; nevertheless, there are really quite a few options accessible.
Poles are available in a variety of forms, including round and square, in diameters ranging from 4 to 6 inches, and either as a single unit or as a multi-piece system. In most cases, poles are constructed out of metal and have either a painted or powder-coated finish.
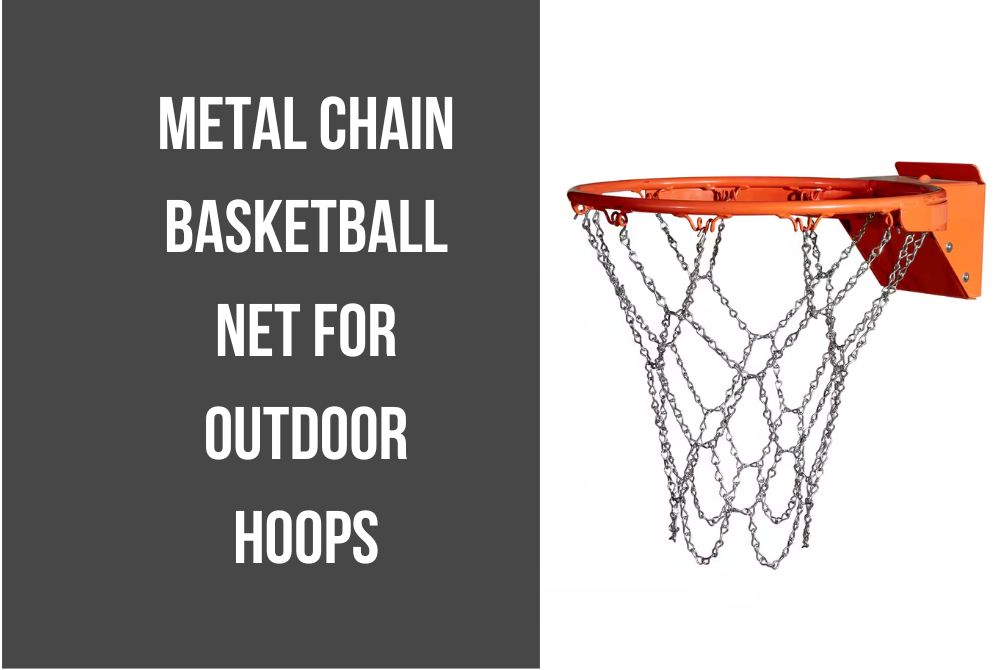
- Net and Rim
The typical components of a basketball court are a rim with a diameter of 18 inches and hooks to connect the net. Static and breakaway rims are the two primary options for basketball hoops that may be installed in residential settings.
It is recommended that you do not use a static rim for dunking since it does not move and is thus an excellent choice for novices or as a more cost-effective alternative. A breakaway rim is a superior option to go in the event that you want to perform some slam dunks on your home court.
These rims are equipped with specialized springs that can bend and cushion the impact of dunking the ball. This not only ensures the player’s safety but also ensures that your basketball equipment will last for a long time.
After thinking about all of the many choices there are for your basketball hoop, you will be able to choose the one that is most suitable for your family and the environment in which you live. After that, it’s time to go out and get the basketball hoop installation kit and have it put up in your backyard.
Conclusion:
In conclusion, installing an in-ground basketball hoop requires careful planning and execution. It’s important to choose the right location, ensure proper drainage, dig the hole to the appropriate depth and width, set the pole and backboard securely, and finish with proper backfill and leveling.
Following these steps and consulting with a professional, if necessary, will result in a stable and safe basketball hoop that can be enjoyed for years to come.


![How to Stabilize Your Basketball Goal? [Feature in 2023]](https://bestportablehoops.com/wp-content/uploads/2022/07/How-to-Stabilize-Your-Basketball-Goal.jpg)
![How are lifetime Basketball Hoops? [Features and Suggestions]](https://bestportablehoops.com/wp-content/uploads/2022/07/How-are-lifetime-Basketball-Hoops-1.jpg)